The website
How this site looks, how you switch between light and dark, and what your browser remembers about it. Plus: account, invitation code and your own world.
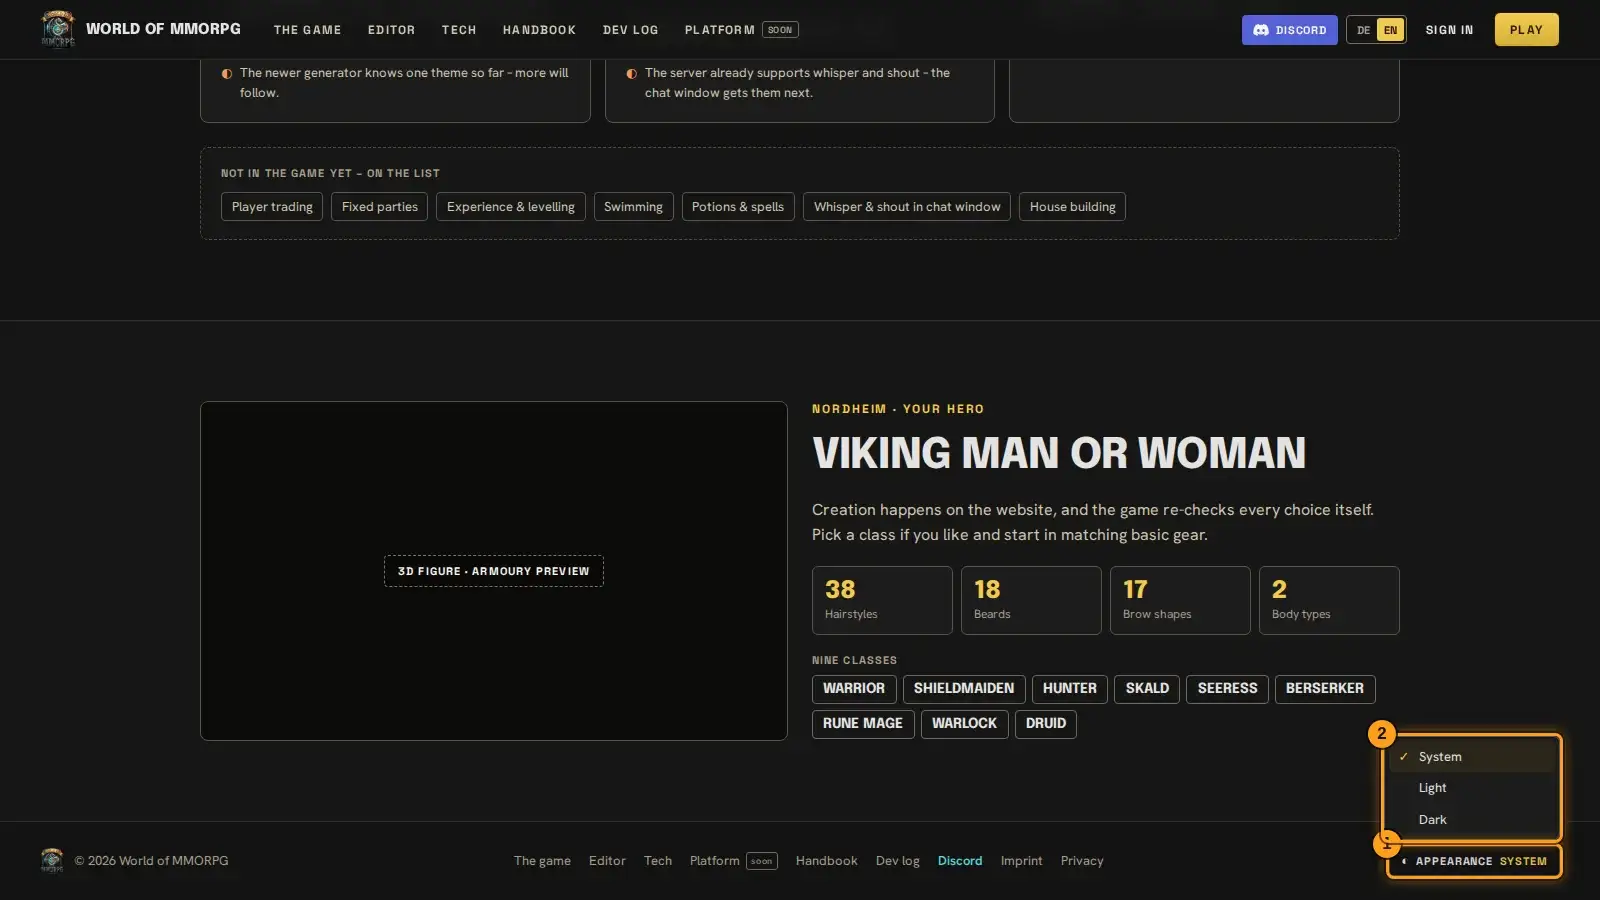
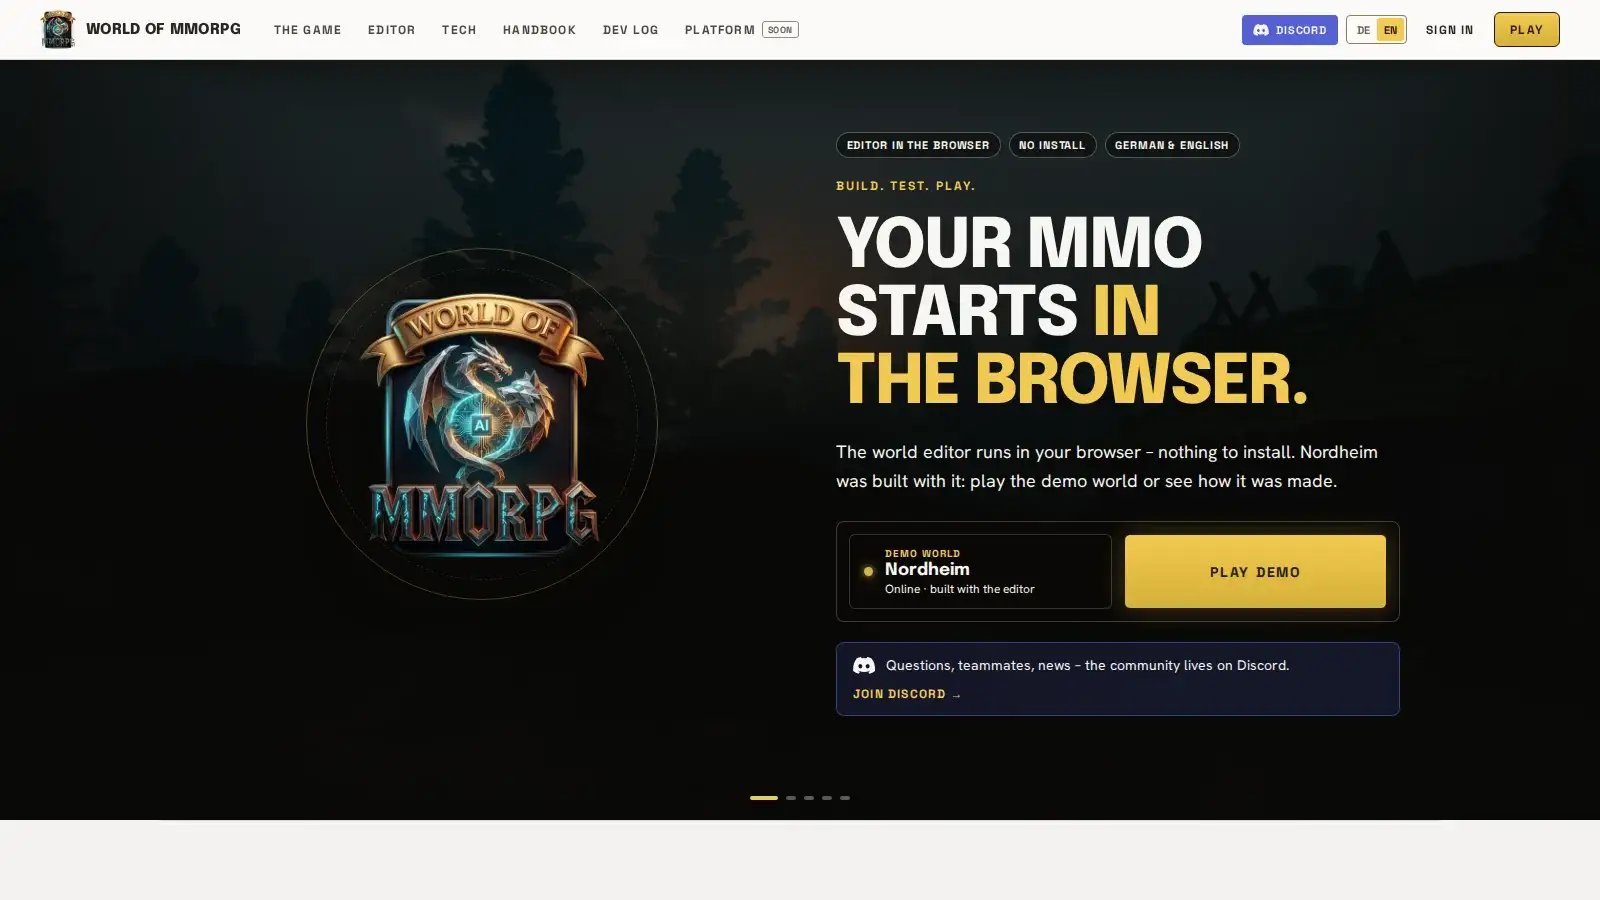
The pictures show the website itself, not the editor: the footer with the open switch above, the start page in light mode below.
Light and dark appearance
What for?
The website comes in a light and a dark appearance. You decide which one you see – or leave the choice to your operating system.
How it works
- Scroll to the end of the page. In the footer on the right is the “Appearance” button; next to it you see the state that is currently active.
- A click opens a menu with three entries: System, Light and Dark. Pick one and the page switches at once; Escape closes the menu again.
- Your choice applies to this browser. On another device or in another browser the site starts with System again.
Tip: System means: the site follows the setting of your operating system and switches with it as soon as you change it there. The switch only appears once the page’s script has run. Without JavaScript the site follows the system; if only the page’s script fails, your last saved choice stays in effect (with “System” that of the operating system) — but you cannot change it.
Account and your own world
What for?
With an account on this website you create your own world and open the editor for it. For now this only works with an invitation code.
How it works
- Open “Register”. If the page asks for an invitation code, enter it in the field “Invitation code”. If the code comes in a link (with “?code=…” in the address), the field also appears when the page does not otherwise ask for a code, and it is already filled in. The code disappears from the address bar right away and is sent along when the account is created.
- If you already have an account, sign in and open the account page. In the section “Redeem an invitation code” enter the code and click “Redeem code”. The page then shows your new package.
- Open “My world” (also reachable via the editor button on the start page). At the top you see your package and your quota, for example “0 of 1 world”. If the editor is not part of your package, the page explains how to redeem a code instead.
- Create the world: enter a name (up to 60 characters) and an address (3 to 32 characters: a–z, digits, hyphen). The address is suggested from the name; you can change it. Click “Create world”.
- Click “Start the editor” at your world. The page prepares the world, which can take up to half a minute, and then takes you to the editor. If it reports that all places are taken or that the platform is under maintenance, try again later.
- You start the test flight in the editor as described in the chapter “Test flight”. It runs offline in your browser, without a game server; your draft is kept in the browser.
- In the editor of your world, the server menu (control the service, settings, backups) and uploading your own files are missing. The reason: operation belongs to the platform, not to your account, and files of your own are not part of this package.
Tip: One world per browser session: if you start the editor for another world, the session of the first one ends. This is a known limit; with one world per account you will not notice it.
If something does not work
- The code is not accepted.
- Check the spelling. A code can be expired or already used up; then you need a new one from the operator. After several failed attempts you have to wait a while.
- “Start the editor” reports an error.
- “All places taken” and “maintenance” pass by themselves: click again later. If the page says your package does not include the editor, redeem a code first.
New in the game: the latest features
What for?
The "New in the game" page shows what has been added to the game: the newest features first, with the date of the last change and the status (available, in development, planned).
How it works
- Open "New in the game" in the header. The list starts with the most recent change.
- Read the badge on each card: "Available" is in the game, "In development" has been started, "Planned" is not built yet.
- Follow "Read it in the handbook" to open the matching chapter. Features without a chapter are not finished yet.
Tip: The start page shows the same features in short form under "What works today"; both pages read the same list.