Routes and dungeons
Draw routes for characters and view, create and edit dungeons, in the classic editor and in the cell-based Dungeon 2.0.
The pictures show the editor with sample data. The orange frames and numbers refer to the steps in the text.
Routes for characters
In development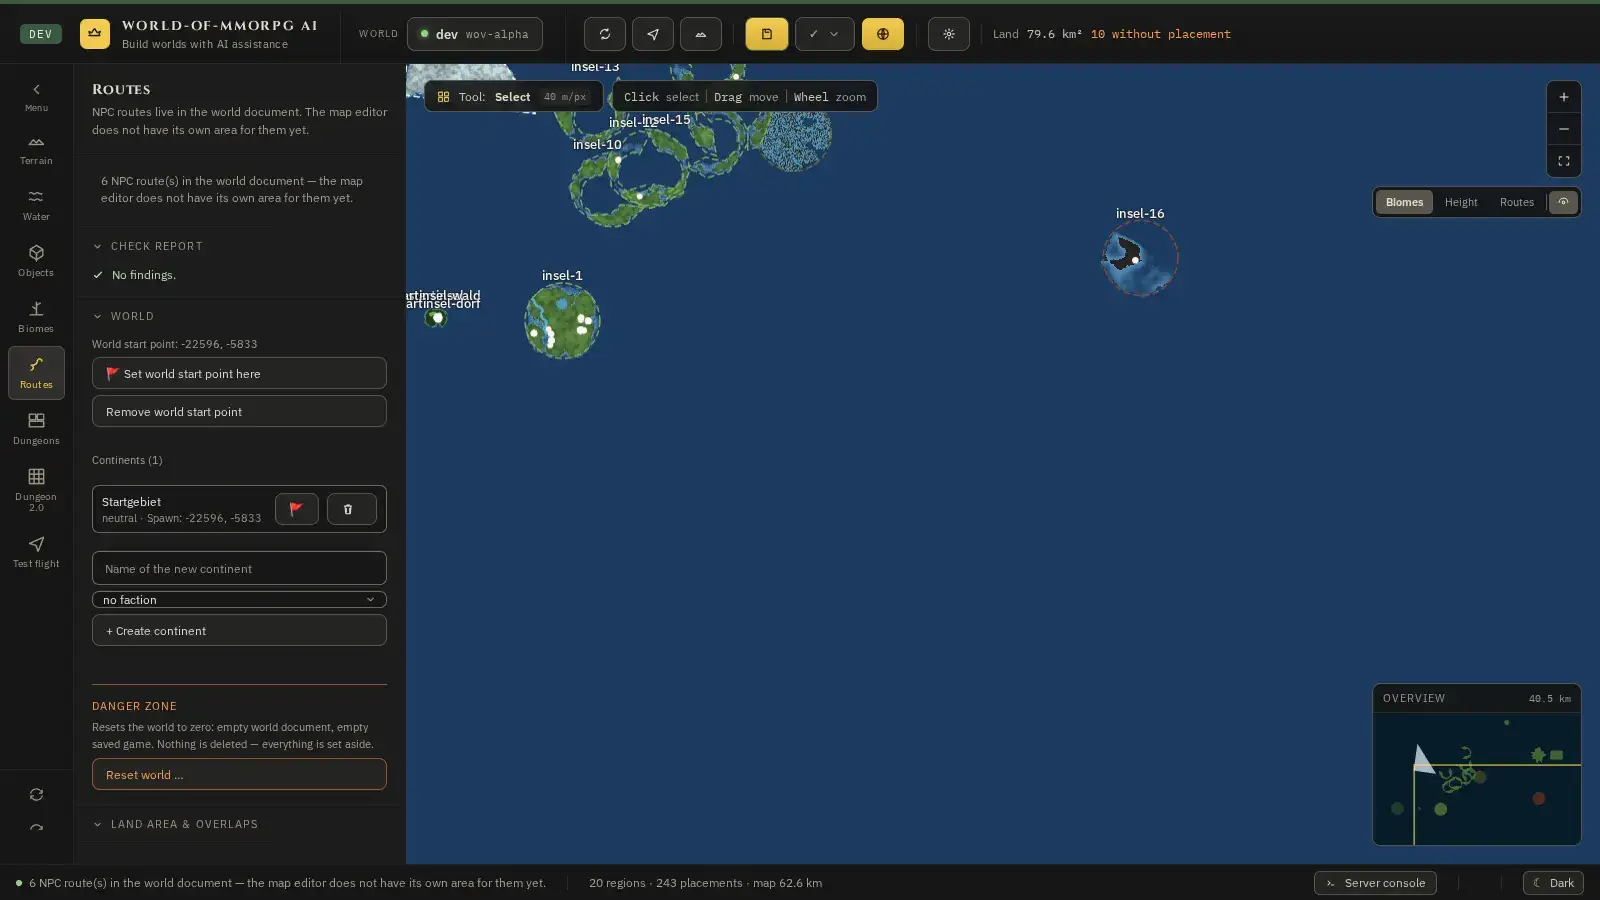
What for?
A route is a path a character walks, for example a guard on his rounds. Routes belong to the world and are saved with it.
How it works
- In the “Routes” mode the status line shows how many routes the world has. There is no area of its own yet for drawing on the map.
- Today routes are drawn in the test flight. Start the test flight and press the R key there. The route editor opens.
- Choose a route or create a new one. The pencil symbol arms the placing: every click on the ground places a waypoint.
- You can grab a placed waypoint and drag it somewhere else. Esc or the pencil ends drawing, R closes the route editor.
Viewing and creating dungeons
What for?
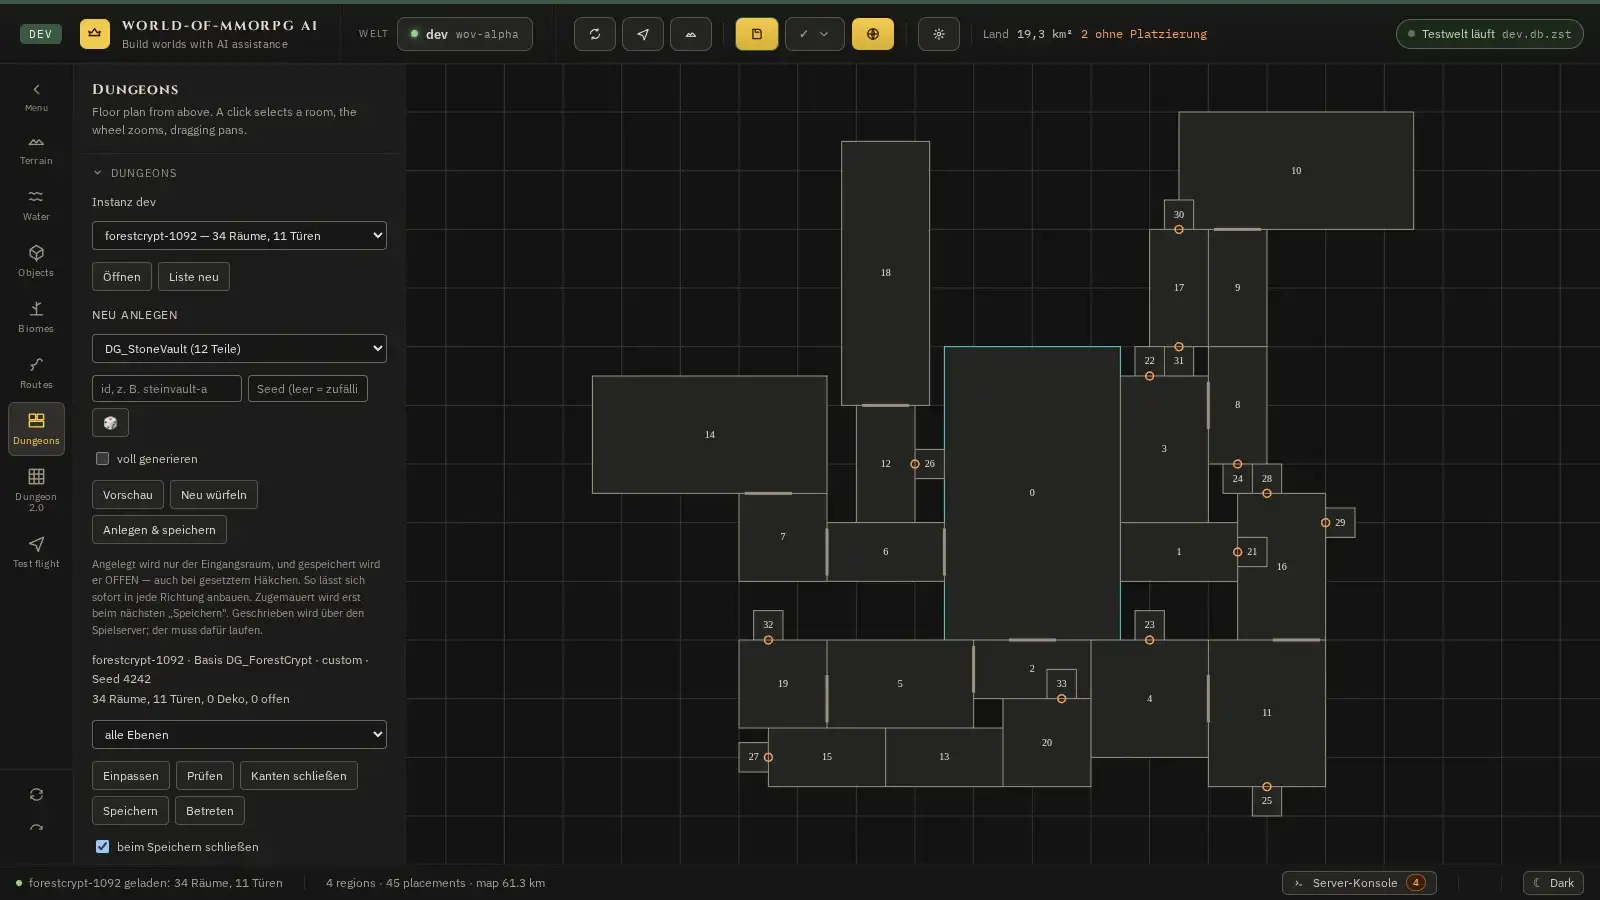
Dungeons are caves, tombs and cellars made of rooms and doors. The classic dungeon editor shows you the floor plan from above, and you edit rooms.
How it works
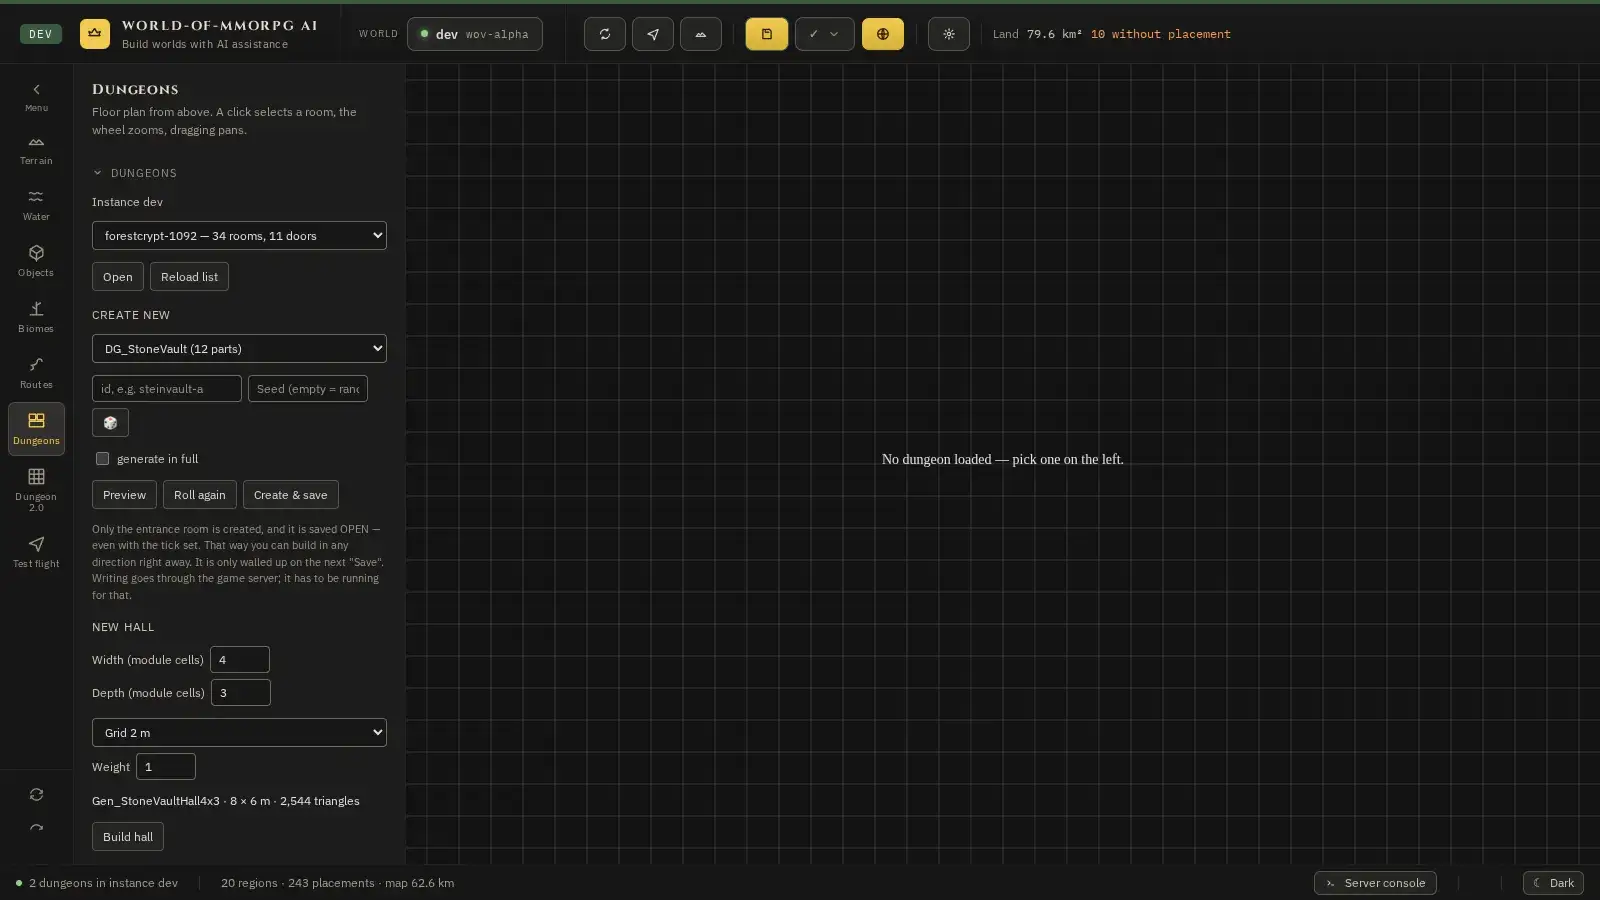
- Pick the “Dungeons” mode on the left. The game server does not have to be running if you only want to look.
- Choose a dungeon in the list (the line names the number of rooms and doors) and click “Open”. “Reload list” reloads the list.
- The floor plan shows the rooms with numbers, the doors as grey strokes, the entrance room outlined in blue, every open build edge in green and every walled-up edge in amber. The mouse wheel zooms, dragging moves, a click selects a room.
- Under “Create new” you choose a kit, assign an identifier, optionally set a seed value and click “Preview”. “Roll again” produces a different layout.
- “Create & save” creates the dungeon. Only the entrance room is created, and it stays open so you can keep building in every direction. Walling up only happens at the next “Save”.
- With an open dungeon, “Fit view” adjusts the view, “Check” looks for errors, “Close edges” walls up open edges and “Enter” takes you inside. Entering always shows the saved state, so save first.
- The “2D floor plan” and “3D view” buttons switch the display. Both views colour open build edges green and walled-up ones amber.
Tip: Writing goes through the game server, which has to be running. If “Save” does nothing, first check in the header bar whether the server is running.
Dungeon 2.0: building cell by cell
In development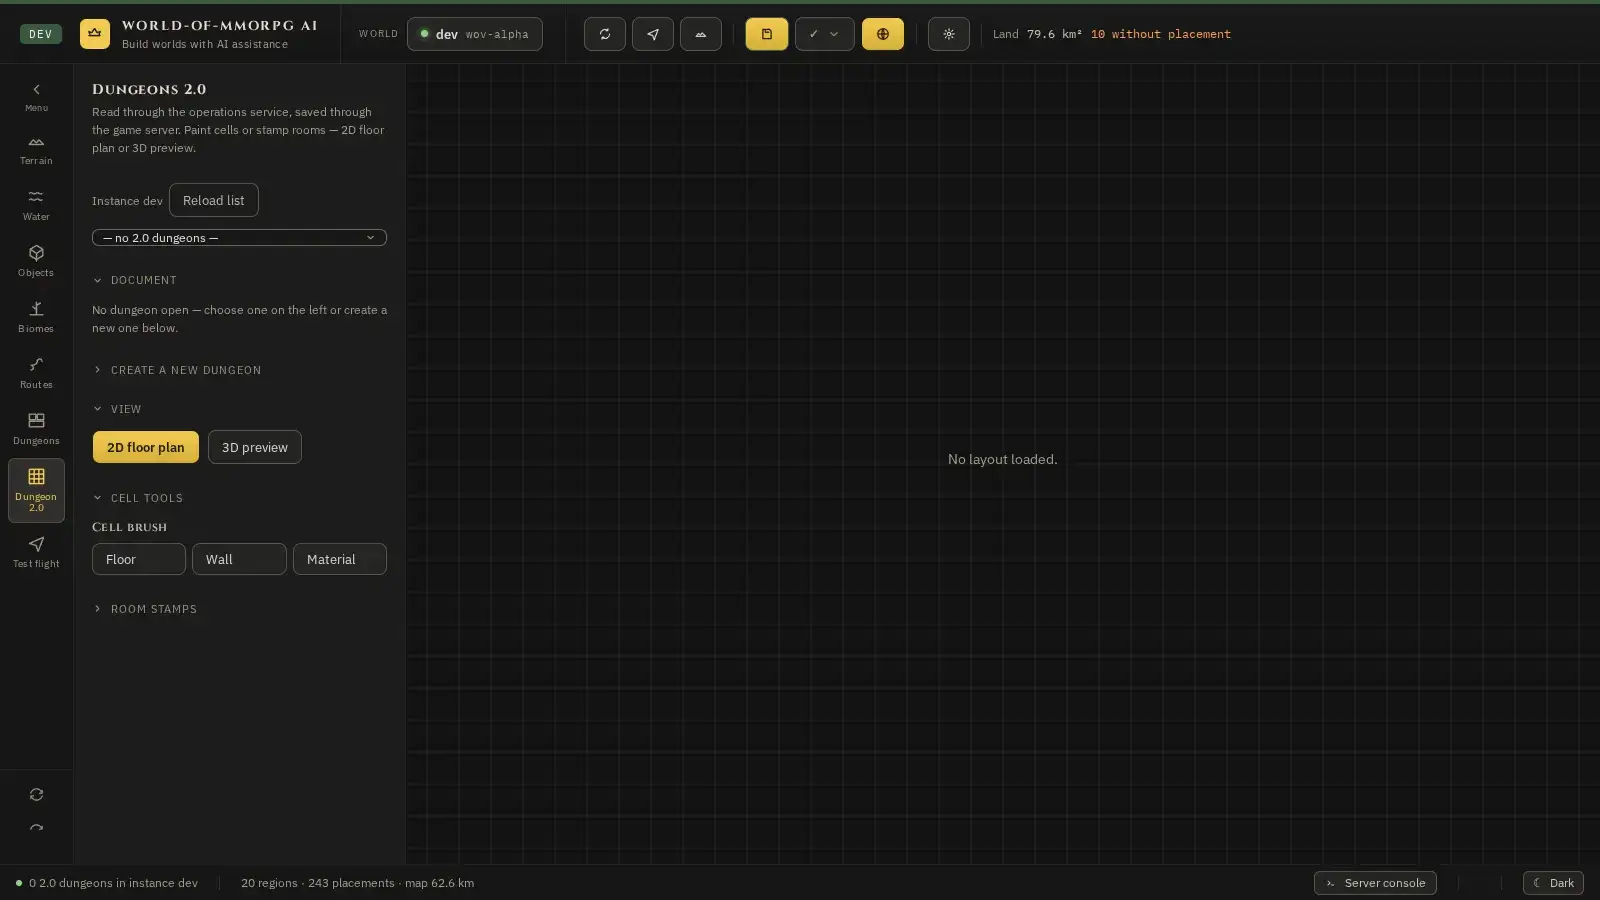
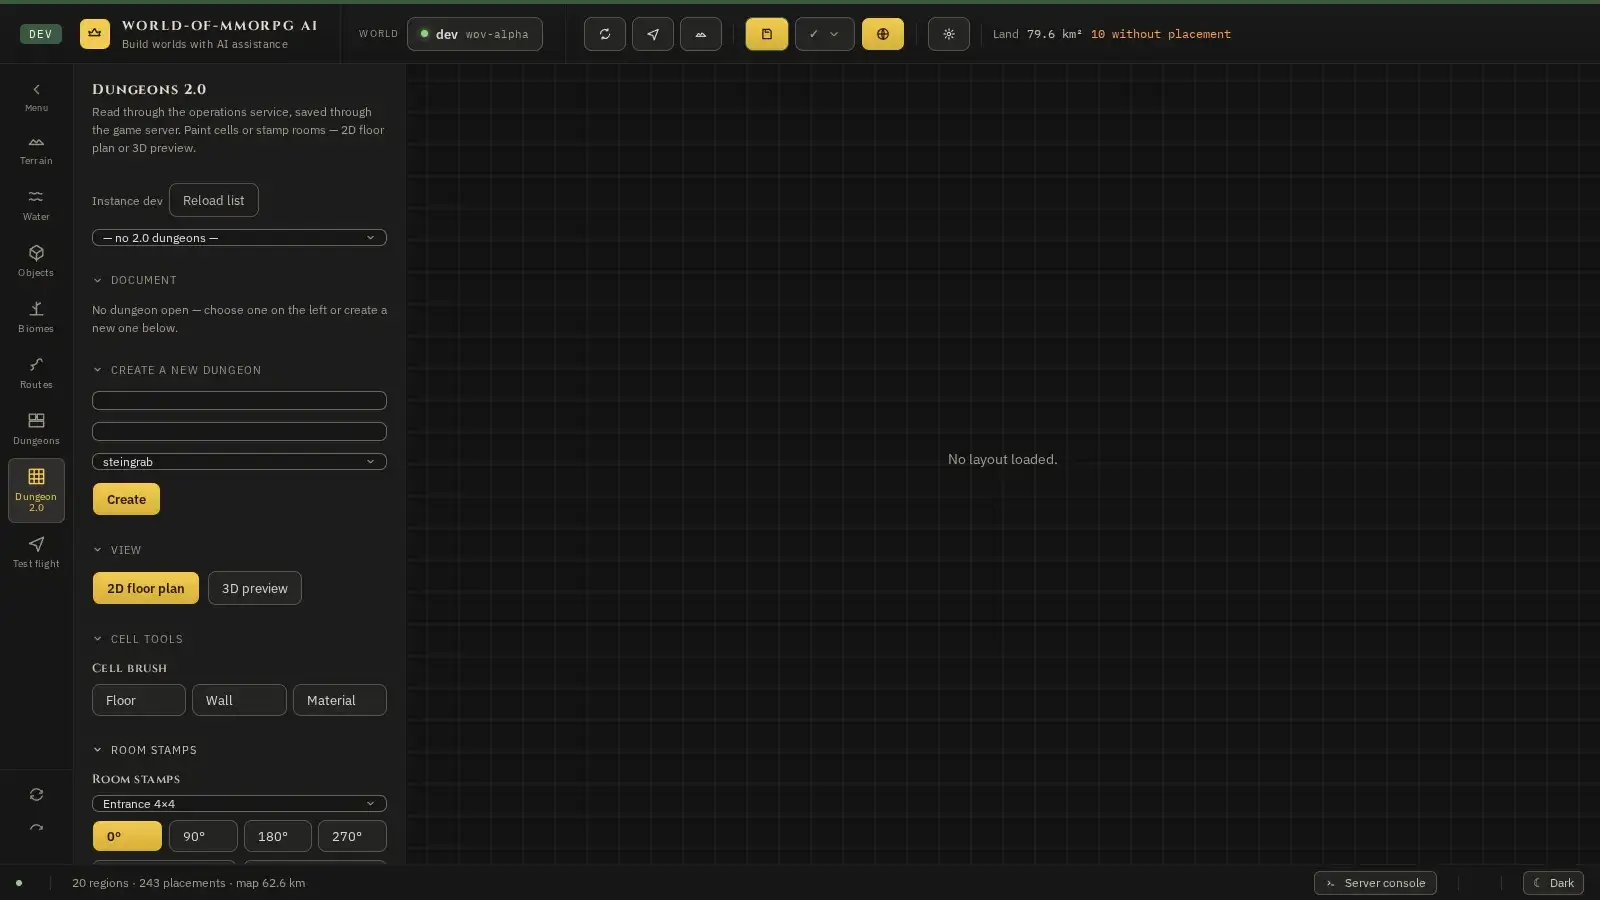
What for?
Dungeon 2.0 is the more modern way: you work cell by cell, paint floors and walls and stamp ready-made rooms. It is still in development.
How it works
- Pick the “Dungeon 2.0” mode on the left. At the top you choose a dungeon from the list; “Reload list” reloads it.
- If the list is empty, unfold “Create a new dungeon”. Enter the identifier in the top field (lower-case letters, digits, hyphen and underscore), optionally a display name in the second field, choose a theme (so far there is the stone tomb) and click “Create”.
- Under “View” you switch between 2D floor plan and 3D preview.
- The “Cell brush” has three tools: “Floor” raises and lowers, “Wall” sets walls, “Material” paints materials.
- With the “Room stamps” you choose a ready-made room, turn it in 90-degree steps and stamp it into the plan.